


The Filter Transformation is Active and Connected Transformation.
Filter: The Filter transformation to filter out rows in
a mapping which are passing through it. The Filter transformation allows rows
that meet the specified filter condition to pass through. It drops rows that do
not meet the condition. You can filter data based on one or more conditions.
A filter condition may returns TRUE or FALSE for each row that the
Integration Service evaluates, depending on the specified condition. For each
row that returns TRUE can pass through the transformation. For each row that
returns FALSE will be dropped out and writes a message to the session log.
Sample Mapping:
1. Connect and Open the folder if not already opened.
2.
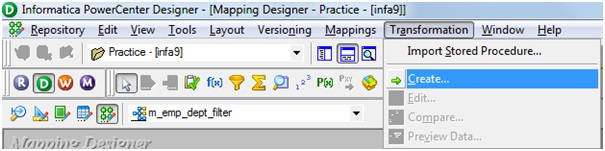
Select Tools --> Mapping Designer
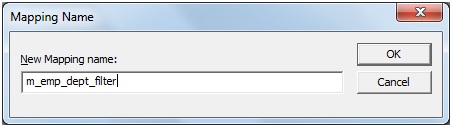
3. Select Mappings --> Create
4. Drag the Source and Target definitions into workspace if they
are already exist. If not click here to know how to create or import Tabledefinitions.

5. Select 'Transformation' from Menu --> Create
a) That will appear you 'Select the
transformation type to create:'

b) Select 'Filter' from drop down and
'Enter a new name for this transformation:' as "Fil_Emp_Dept"
c) Click 'Create' and 'Done'
or

b) Click in the workspace in Mapping
Designer.

c) Select FILTRANS in workspace and Right
Click --> Edit.

d) In Transformation tab --> Click on
'Rename' highlighted above which will pop-up 'Rename Transformation'. Enter the
Transformation Name: "Fil_Emp_Dept"
e) Click on 'OK'
f) Click on 'Apply' and 'OK'.

7) Select 'Fil_Emp_Dept' Filter Transformation and right click
--> Edit --> Properties Tab.

a) Click on 'Open Button' highlighted above which will appear 'Expression Editor'.
ex:
Enter the Filter Condition: SAL > 2000
b) Click on 'Validate' to validate the
function and Click on 'OK'.
c) Click on 'Apply' and 'OK'.
8). Drag the Port from 'Fil_Emp_Dept' filter transformation to
'EMP1' target instance.

9) Select 'Mapping' from Menu --> Validate.

10) Select 'Repository' from Menu --> Save.

Tips:
- Place the Filter transformation as close to the sources
in the mapping as possible to maximize session performance. Rather than
passing rows you plan to discard through the mapping, you can filter out
unwanted data early in the flow of data from sources to targets.
- The filter condition is case sensitive.
- To maximize session performance, keep the Filter
transformation as close as possible to the sources in the mapping. Rather
than passing rows that you plan to discard through the mapping, you can
filter out unwanted data early in the flow of data from sources to
targets.
- The Source Qualifier transformation provides an alternate way to filter rows. Rather than filtering rows from within a mapping, the Source Qualifier transformation filters rows when read from a source.
Excellent Blog !!!
ReplyDelete
Deleteit was a nice article and it was very helpfulInformatica Training in Chennai|Informatica MDM Training in Chennai|Informatica Data Quality Training in Chennai|SEO Training in Chennai|
Excellent example of a simple Filter Transaction. Thank you. J.Finn.
ReplyDeleteHi,
ReplyDeletePlease include that we need to add the port name under port which has similar data types of Source. Please correct me if I am wrong
Super guru
ReplyDeleteHello...can u please elaborate the point "Place the Filter transformation as close to the sources in the mapping as possible" ..here placing close refers to wat ??
ReplyDeletethanks ,
The filter transformation need to be keep close to the source to filter the unwanted
Deletedata from source while transferring data from source to next transformation and target.
This is very good information
ReplyDeleteinformatica online training, informatica training in bangalore, informaitca training